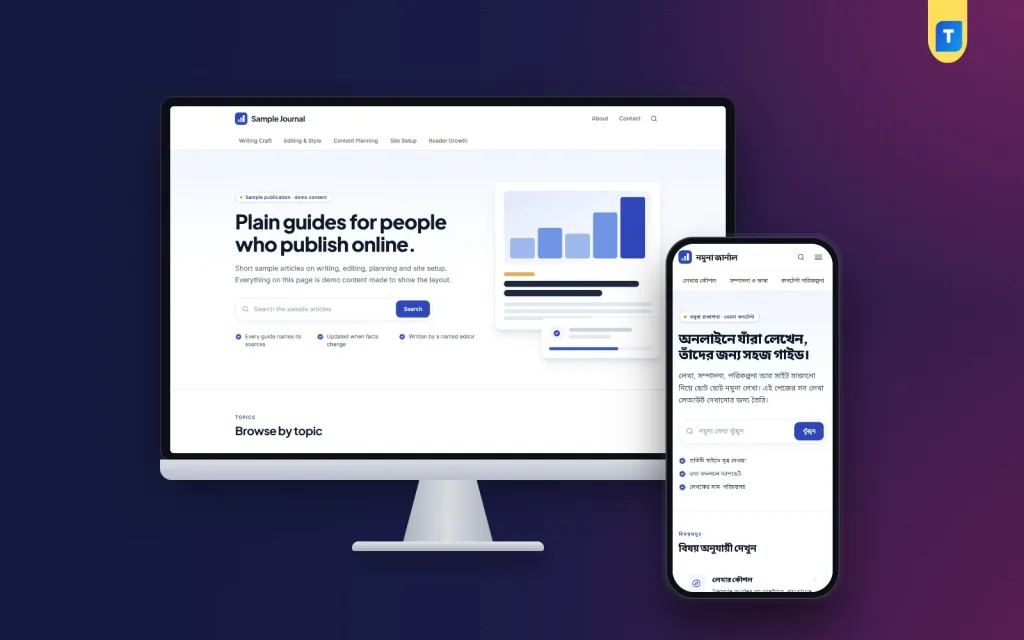
Building a blog for AdSense approval is mostly a matter of order: decide what the site is about, give it a clear shape, fill it with useful articles at a steady pace, and only then send the application. This guide lays that out as an eight-week plan for bloggers, freelancers and small publishers in Bangladesh who are starting from an empty domain.
A plain warning before the plan: Google alone decides who joins AdSense. No schedule, theme or CMS can promise a yes, a ranking or an income. What a plan can do is remove the avoidable problems, so that the reviewer sees a finished small publication and not a building site.
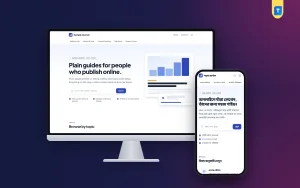
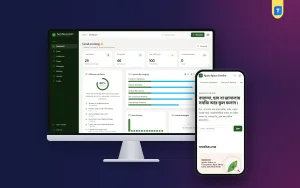
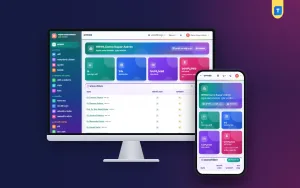
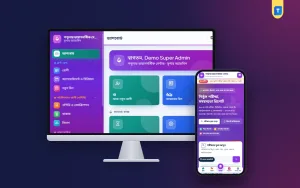
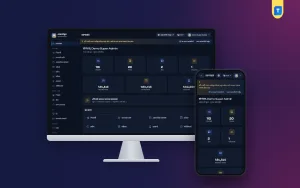
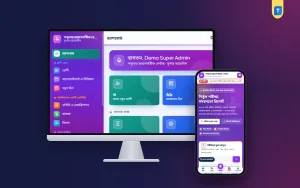
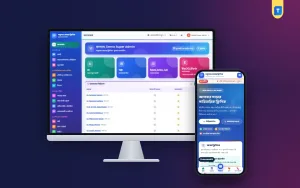
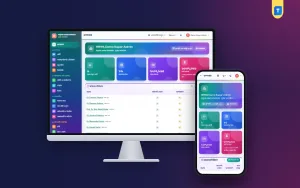
The examples use Publisher Blog CMS, a Laravel blog system you install on your own hosting. Its screens appear below with sample content. The same steps work on any platform; the software only saves you from building the pages and checks by hand.
How Long Should You Prepare Before Applying?
People ask about AdSense approval time as if it were one number. It is really two. The first is your preparation time, which you control. The second is Google's review, which you do not. Google's help pages say a review usually takes a few days and in some cases two to four weeks. Check the current wording on the AdSense Help site before you plan around it.
Preparation is where the eight weeks go. Eight weeks is not a rule from Google, which publishes no fixed post count. It is simply a realistic span for one person with a day job to write twenty-five solid articles without copying or rushing. If you can write faster and keep the quality, shorten it. If you need twelve weeks, take twelve.
The mistake to avoid is applying in week two because the design looks finished. A reviewer who finds six short posts and three empty categories has little to judge, and a declined application costs you more time than waiting would have.
Week 1: Choose One Topic and Plan the Categories
Start with paper, not software. Write down the one subject the site will cover and the reader it serves, in a single sentence: "Home budgeting for young families in Dhaka", for example. If the sentence needs the word "and" three times, the topic is too wide for a new site.
Then split the subject into four to six categories. Each one should be a question area you can write at least five articles about. Give every category a one-line description in plain words, because that line is what visitors read first. Do not create a category for a topic you might cover next year; an empty section makes the site look unfinished.
List the article titles under each category before you write any of them. Twenty-five to thirty titles is enough. The list shows gaps early: a category with two ideas should be merged into a neighbour, and one with twelve can be split.
Week 2: Set Up the Site and the Trust Pages
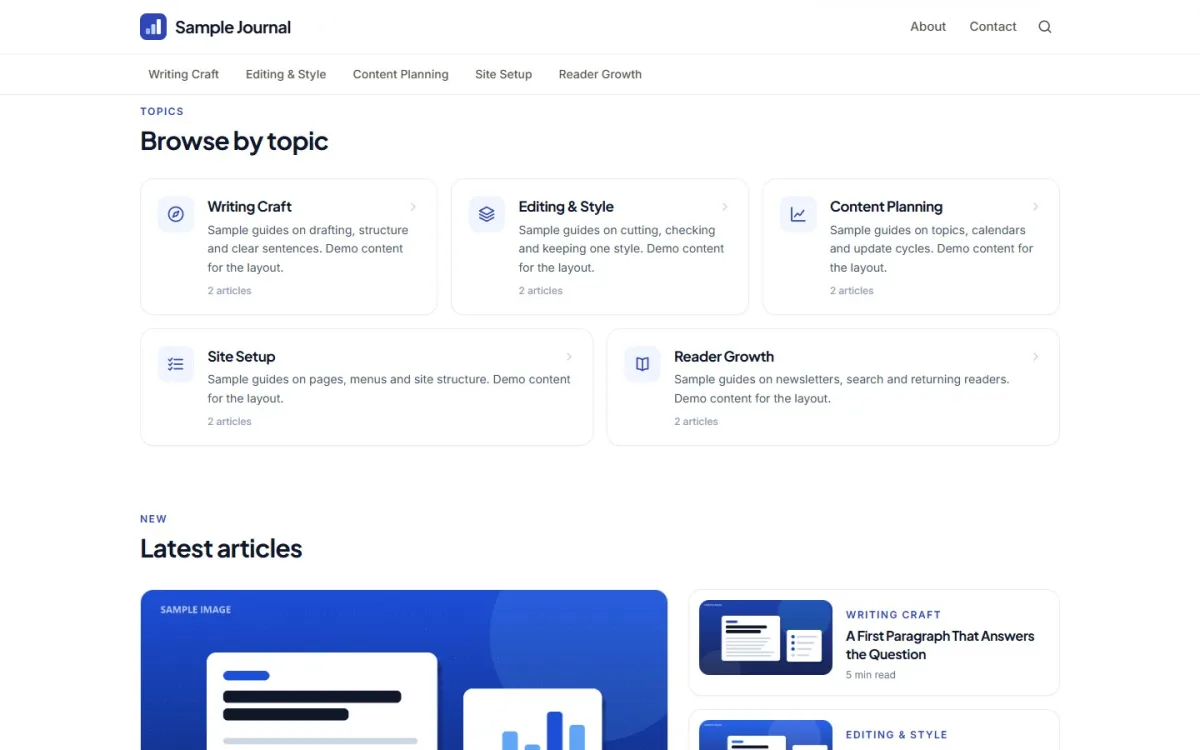
In the second week the site goes online. Install the CMS on a proper domain with HTTPS, set your time zone and website language, and create the categories from your list in the order you want them in the menu. In Publisher Blog CMS each category then appears as a card under Browse by topic, with a line icon chosen automatically, your description and the number of articles.
Fill in the home page next. A headline that says what the site covers, two lines of introduction and a search box are enough. The CMS also lets you add up to three short points under the search box. Use them for facts a reader can check, such as "Every guide names its sources" or "Updated when facts change", and leave them empty if you have nothing true to say.
The five trust pages come with the installation: About Us, Contact Us, Privacy Policy, Terms and Conditions and Disclaimer. Rewrite the About page in your own words this week, with your name and your reason for writing. Read the other four and adjust anything that does not fit your site or your country. Add your real contact e-mail in Settings, and complete your author profile with a short bio and a photo.
Two optional notes are worth setting now. A footer note can state in one sentence that the site is independent. A note under every article can say that the content is general information, and the CMS adds a link to your Disclaimer after it.
Weeks 3 to 6: Write on a Schedule
Now the real work starts. Four weeks at six or seven articles a week gives you the twenty-five to thirty pieces on your list. Work through the categories in turn, so that no section stays empty while another fills up. Each article should answer one question fully, in your own words, with your own examples or photos where you have them.
Length follows from the question. A guide that needs 1,200 words should get them, and padding a 600-word answer to reach a number helps nobody. As a working floor, the readiness card in the CMS flags published posts under 800 words, which is a sensible point at which to ask whether the piece is complete.
Use scheduling to keep the rhythm even. Write three articles on a free weekend, set their publish dates across the following week and let the site release them. A blog for AdSense approval that grows by one article every day or two looks like what it is: a publication someone is tending.
Link as you go. When a new article mentions something an older one explains, link to it with descriptive words. In this CMS a link to a post that is still scheduled shows as plain text until that post is live, so you can link forward without sending readers to a missing page.
Titles and Descriptions: Check the Search Result
Every article has two faces: the page itself and the two lines that represent it in a search result. Weak titles and missing descriptions are easy to fix and often skipped. Google explains how it builds those lines in its title link documentation.
Write the title for a person scanning a results page: the topic first, then what the article gives them. Keep it between roughly 30 and 60 characters so it is not cut off. Write the description as one or two honest sentences of 120 to 160 characters that say what is inside. Do not repeat the title, and do not promise what the article does not deliver.
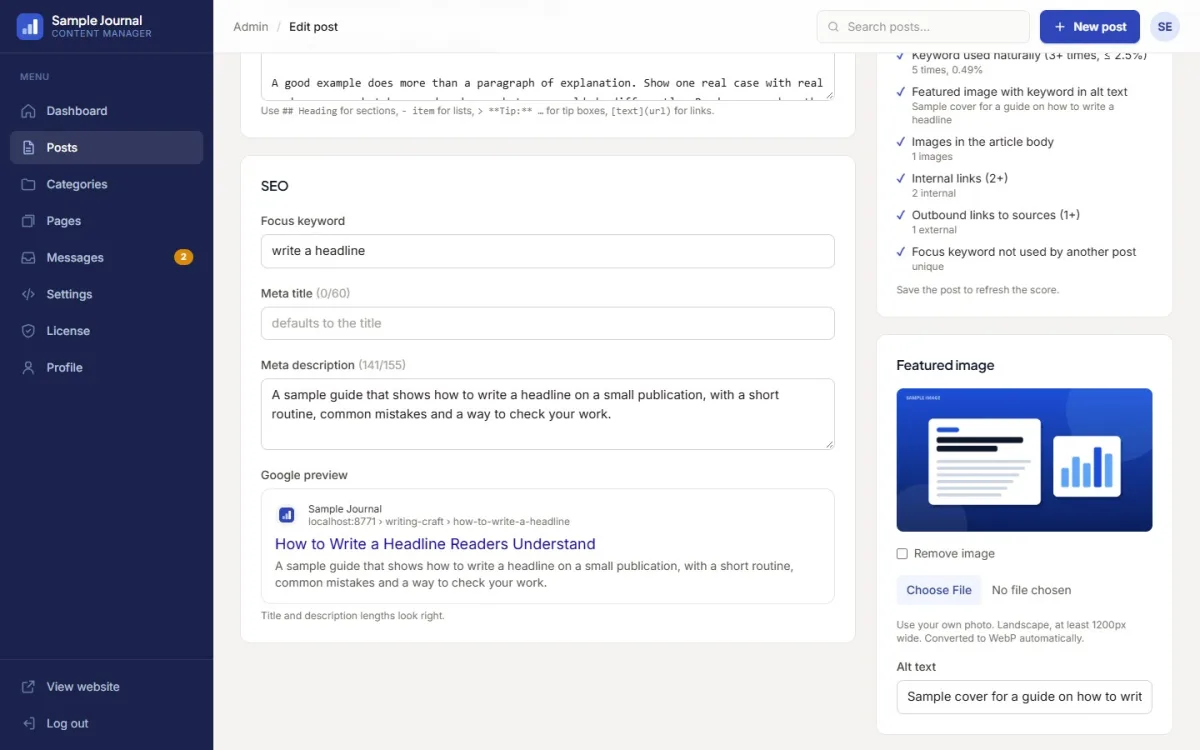
The post editor in Publisher Blog CMS shows a Google preview under the SEO fields. As you type the meta title and description, it redraws the result with your site name and address and adds a note when the title is too long or the description too short. After you save, a 17-check SEO score looks at the same fields along with headings, length, links and image alt text.
Treat both as writing aids. A score of 100 means the basics are covered. It does not mean the article is good, and it has no bearing on Google's decision.
Week 7: Review the Whole Site
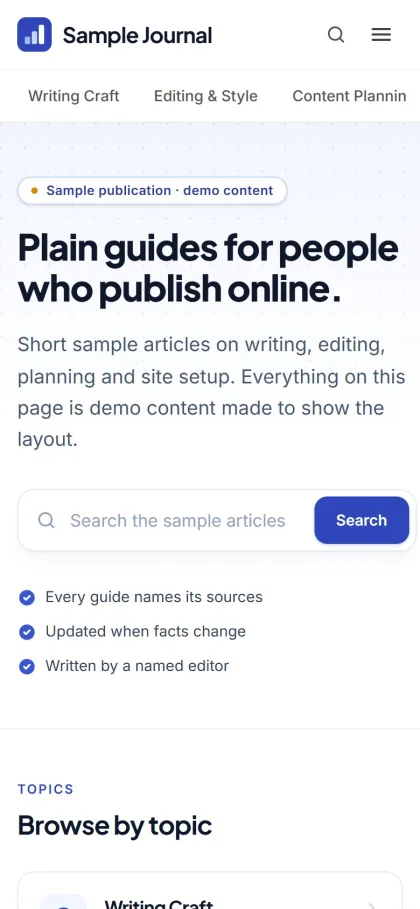
In week seven, stop writing and read. Open the site on a phone and go through it as a stranger would: home page, each category, three or four articles, the About page, the contact form. Note everything that looks unfinished, such as a category with one post, an article without a cover image or a menu item that leads nowhere.
Then check the technical side. The site should be in production mode, because in any other mode the CMS serves a robots.txt file that blocks all crawlers. Open /sitemap.xml and confirm that your articles are listed. Add the site to Google Search Console, submit the sitemap and see whether pages are being indexed. On the server, the site:audit command crawls every public page and reports broken links, duplicate titles, missing alt text and pages left out of the sitemap.
The dashboard gathers ten of these points in a readiness card with a progress ring: the number of published posts, thin posts, empty categories, cover images, meta descriptions, the five trust pages, the author bio, the site e-mail, production mode and the publisher ID. Use it as a to-do list. It can confirm that the pieces exist, but it cannot tell whether the writing is original or useful. That part is for you to judge first, and for the reviewer in the end.
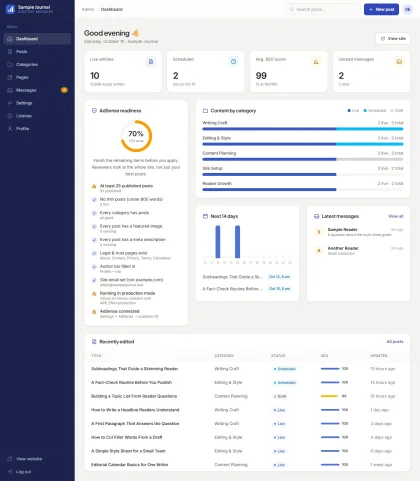
Week 8: Apply, Then Keep Publishing
When the review list is empty, create your AdSense account and add the site. Google gives you a publisher ID. Enter it under Settings on the AdSense tab, and the CMS adds the account meta tag, the AdSense script and the ads.txt line to the site. Then request the review in your AdSense account. You do not need ad units while you wait.
This is where the second half of AdSense approval time begins, and it is out of your hands. Do not change the design, move categories or switch domains during the review. Do keep publishing at the same pace. A site that goes quiet on the day of the application looks abandoned to readers as well.
If the answer is no, read the reason Google gives. It usually points to an area and not a single page: content, navigation or policy. Fix that area across the site, add a few strong articles and apply again only when the change is visible. Sending the same site back a week later rarely changes the result.
A Layout Readers Can Follow
Structure is for readers first. A visitor who lands on one article from a search should be able to see what else the site covers, who writes it and how to reach them, without hunting. That means a short category menu, a search box, clear links to the trust pages in the footer and an author line on every article.
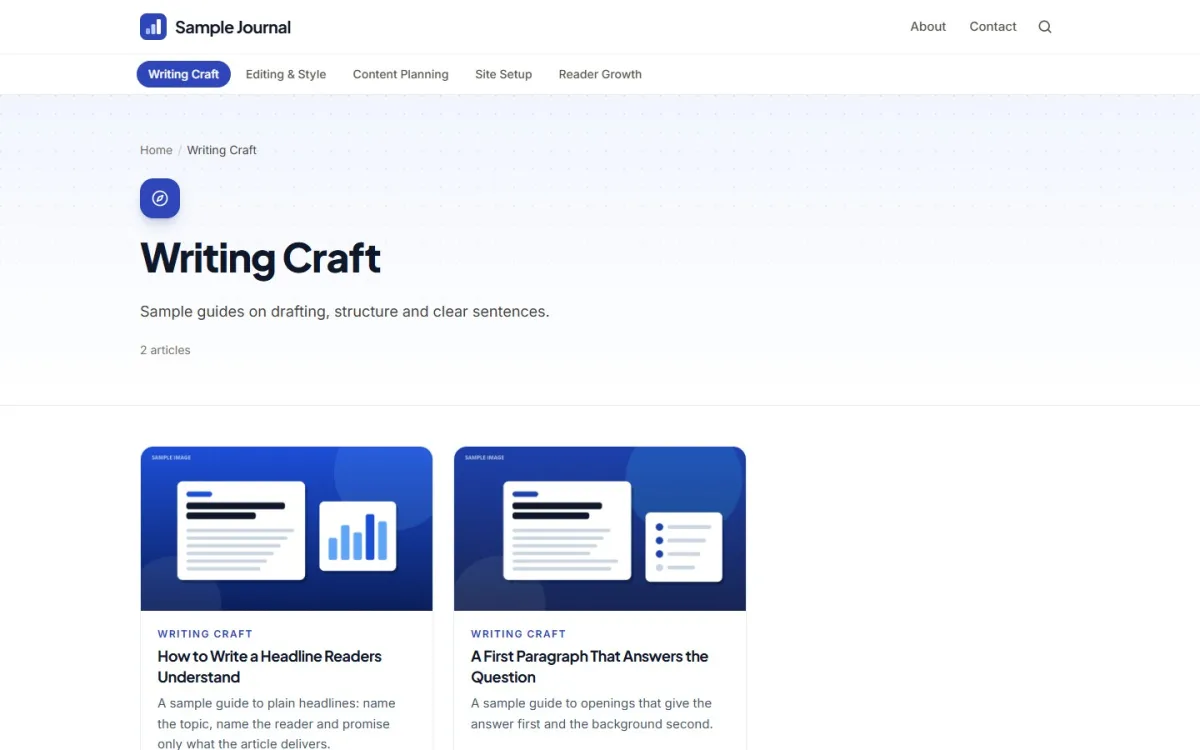
Publisher Blog CMS arranges these parts for you: topic cards on the home page, card listings on category and author pages, a dark About panel that leads to your story and contact form, and a footer where topics and site links stay side by side on phones. The site can run in English or Bangla, and the design is the same in both. You can see it on a running site at the live demo; the articles and artwork there belong to that site and are not part of the product.
If you prefer a green reading layout, the AdSense Blog CMS shares the same admin and checks. Its guide, the AdSense approval checklist, goes through what reviewers look at point by point and pairs well with this plan.
Common Mistakes in the First Two Months
The first mistake is building too wide. Ten categories with three posts each look thinner than four categories with eight. The second is writing for the application and not for a reader: articles chosen because they seem harmless, with nothing in them a person would search for.
The third is borrowed content. Rewritten or translated articles from other sites add nothing a reader cannot find elsewhere, and they are the fastest way to waste the whole eight weeks. The fourth is leaving the trust pages as they came. An About page that still shows placeholder text tells a visitor that nobody is home.
The last is impatience. Sending the application a month early is an easy way to collect a refusal you did not need. A blog for AdSense approval is ready when a stranger can browse it for ten minutes and find nothing missing.
Frequently asked questions
How long does AdSense take to review a new blog?
Google's help pages say a review usually takes a few days, and in some cases two to four weeks. That is the review only. Your own preparation, which this guide spreads over eight weeks, comes first and usually takes far longer.
How many posts does a blog for AdSense approval need?
Google gives no fixed number. Publisher Blog CMS uses 25 published posts with none under 800 words as its own readiness target, which is a reasonable minimum for a focused site. Useful, original articles in every category matter more than the count.
Does a CMS or theme decide the outcome?
No. Software can supply the trust pages, sitemap, ads.txt and self-checks, and it can keep the site fast and tidy. The decision rests on your content and on Google's own review, and no product can promise it.
Can I prepare a Bangla site the same way?
Yes. The plan is the same in any language. In Publisher Blog CMS you set the website language to Bangla, and the public buttons, labels and dates follow. For a full Bangla news portal on WordPress, a news theme such as the Best Bangla News Theme is a better fit.
Conclusion
A blog for AdSense approval is built in a plain order: one topic, a handful of categories, honest trust pages, twenty-five or more useful articles published at a steady pace, a full review, and then the application. The eight weeks are a guide, not a rule, and the answer is always Google's to give. If you want the pages, topic cards and checks in place from the first day, see Publisher Blog CMS. AdSense is a trademark of Google LLC; Themeve and Publisher Blog CMS are not affiliated with Google.