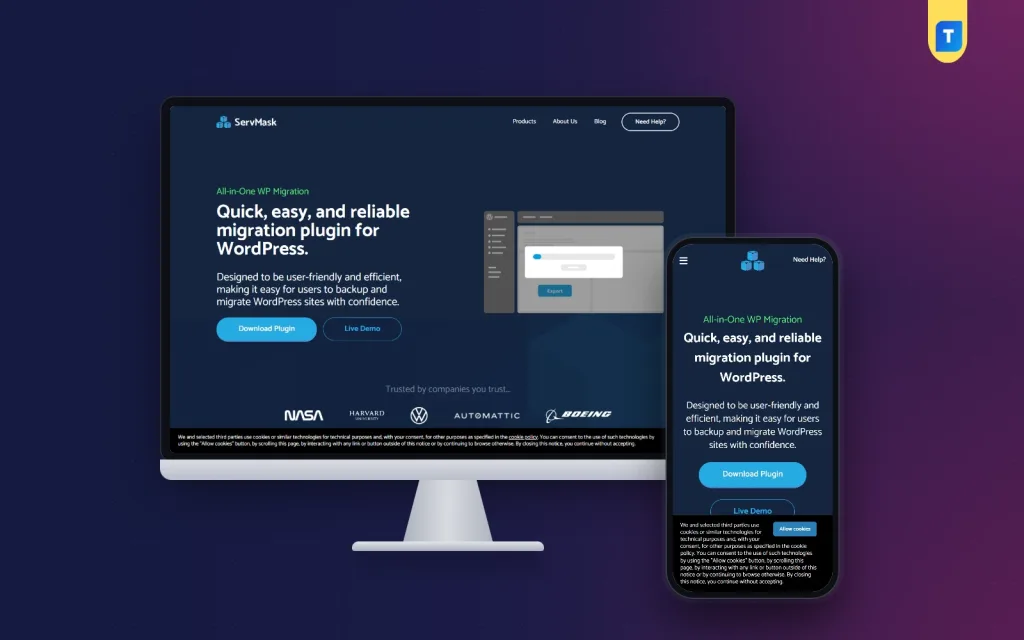
If you want to know how to use All in One WP Migration, the short answer is that it works in two steps: export your site into one file, then import that file on the new site. The plugin handles the database, files, themes and plugins for you. You do not need FTP or any code.
This guide walks through each task in order. You will learn how to move a site to new hosting, how to take a backup, how to restore it, how to clone a site for testing, and how to fix the errors people meet most often.
What All in One WP Migration does
The plugin packs your whole WordPress site into a single file with the extension .wpress. The package holds everything.
- The database, with all posts, pages and settings.
- Media files, such as photos and PDFs.
- Themes and plugins.
- Custom settings and widgets.
You can then import that file into any WordPress install. During the import, the plugin replaces old URLs and file paths with the new ones. That means links and images keep working after a domain change.
Before you start: a quick checklist
Careful preparation prevents most problems. Go through this list before you touch the plugin.
- Make sure you can log in to the admin area of both sites.
- Install a fresh, empty WordPress on the new host or local server.
- Check the free disk space on the new host. It must hold the full site and the package file.
- Note the PHP version on both servers. Keep them close to each other.
- Install the same plugin on both sites.
- Do not change content on the old site while you move it.
How to use All in One WP Migration to export a site
Exporting is the first half of any move. It takes only a few clicks.

- Log in to the WordPress dashboard of the site you want to copy.
- Go to Plugins, then Add New, and install All in One WP Migration. Activate it.
- Open the new All in One WP Migration menu in the sidebar and click Export.
- Click Export To and choose File.
- Wait while the plugin builds the package. Do not close the tab.
- Click the download button when it appears and save the .wpress file on your computer.
Keep the file in a safe folder. It contains your whole site, including user data, so treat it like a private document.
Advanced export options worth knowing
Under the Advanced options on the export screen you can leave things out. This is useful when the file is too large.
- Do not export the media library: useful if you will copy photos separately.
- Do not export themes or plugins: useful when the new site already has them.
- Do not export spam comments or post revisions: reduces file size.
- Do not replace email domain: keeps e-mail addresses unchanged in the content.
- Find and replace: change an old word or link to a new one inside the database during the export.
Use these options carefully. If you exclude something, you must handle it yourself on the new site.
How to use All in One WP Migration to import a site
The second half is the import. Do it on the new, empty WordPress site.
- Install and activate the same plugin on the new site.
- Go to All in One WP Migration, then Import.
- Click Import From and choose File.
- Select the .wpress file or drag it into the box.
- Read the warning. The import replaces everything on the new site, so make sure it is the right site.
- Click Proceed and wait for it to finish.
- When the import is done, click Finish. Save the permalinks by visiting Settings, Permalinks, then Save Changes.
- You may be logged out. Log in again with the login details of the old site.
Note that after an import, your admin login becomes the one from the old site, not the new install.
Moving a site to a new host or domain
This is the most common use. Follow a clear order so the visitors never see a broken site.
- Export the old site as described above.
- Set up the new hosting and install a clean WordPress.
- Import the file into the new site.
- Test the new site using a temporary URL or a hosts file entry.
- Check pages, images, forms and the checkout if you run a shop.
- Point the domain name to the new host by changing the DNS records.
- Keep the old host for a few days until DNS has settled everywhere.
- Visit the site again and confirm that the padlock for HTTPS appears.
If you change the domain itself, the plugin updates the URLs in the database for you. Still, open a few old links and test them.
How to use All in One WP Migration for backups
The export file is also a full backup. Taking one before an important change is a good habit. Make a backup in these cases.
- Before you update WordPress, a theme or a big plugin.
- Before you edit the theme files.
- Before you remove a plugin that stores data.
- Once a week for a site that changes often, such as a shop.
Save the file to your computer and also to a cloud drive. A backup that lives only on the same server will not help if the server fails. Name each file with the date so you can find the right one later.
How to restore a backup
Restoring uses the same Import screen. It is the fastest way to recover from a hack, a bad update or a mistake.
- Log in to the WordPress dashboard. If you cannot, install a fresh WordPress and the plugin first.
- Open All in One WP Migration, then Import, and upload your backup file.
- Confirm the warning and proceed.
- After it finishes, save the permalinks again.
- Check the home page, one post, one image and the contact form.
The plugin also keeps a list of backups made on the server under the Backups menu, if your version supports it. You can restore from there with one click.
Cloning a site for testing
A clone lets you try changes without risk to the live site. Developers use this all the time.
- Create a subdomain such as test.yoursite.com, or a local site on your computer.
- Install WordPress and the plugin there.
- Export the live site and import the file into the test site.
- Make your changes on the clone: a new theme, a new plugin, or a layout change.
- When you are happy, repeat the change on the live site or move the clone live.
Block search engines on the test site so it does not show up in search results. There is a setting for this under Settings, Reading.
Fixing common errors
Most problems come from the server, not the plugin. Here are the usual ones and the fix.
- Upload size limit: the host allows only a small file. Raise upload_max_filesize and post_max_size in the PHP settings, or ask your host to do it. The Pro version removes the plugin-side size limit.
- Import stops at a percentage: usually a timeout. Increase max_execution_time and try again.
- Not enough disk space: free some space or upgrade the plan.
- White screen after import: deactivate plugins through the file manager, then turn them back on one by one.
- Images missing: re-save permalinks and check that the uploads folder was created.
- Mixed content warnings: a few links still use http. Fix them with a find and replace on the database.
A ready-made option
If you want the Pro version for larger sites, you can get the All in One WP Migration Pro plugin from our store. It supports unlimited site size, so big shops and business sites move without hitting the upload limit.
- Exports the whole site into one package.
- Imports into any WordPress install.
- Automatic search and replace of URLs and paths.
- Works on shared, VPS, cloud and managed hosting.
- Instant download after payment is verified.
Pay with bKash, Nagad or Rocket. The details are on the product page.
Free version or Pro: which should you use
The free version works well for a small blog or a brochure site. The limit shows up when the package grows. A shop with thousands of photos, or a site with years of posts, often passes the upload size of a normal host.
- Free: good for small sites, learning, and one-time moves of light sites.
- Pro: good for large sites, regular client work, and sites that you back up often.
If you are a freelancer, learning how to use All in One WP Migration and backup tools well will save you hours on every project. You can build a site on your own computer, then move it to the client host in minutes.
A simple weekly backup routine
Do not leave backups to memory. Fix a day and follow the same steps.
- Pick a quiet day, for example Friday evening.
- Open the Export screen and create a file.
- Rename the file with the date, such as mysite-2026-10-16.wpress.
- Upload it to a cloud drive and keep a second copy on your computer.
- Delete backups older than one month, but keep the last four.
- Once a month, test a restore on a local site to be sure the file opens.
A backup you have never tested is only a hope. The monthly test costs ten minutes and removes the doubt.
Good habits after any migration
A move is finished only when you have checked the result. Spend fifteen minutes on the list below, and you will catch most mistakes while they are still easy to fix.
- Test the contact form and send yourself a message.
- Open the site on a phone and a desktop.
- Check the speed of the home page.
- Make sure the SSL certificate is active.
- Look at the Search Console for crawl errors in the following days.
- Delete the old package files from the server when you finish.
- Keep one copy of the final backup safe.
Moving from a local computer to a live host
Many people build a site on their own computer first, using a local server. It is fast and free. The plugin then moves it online.
- Finish and test the site locally.
- Export it to a file.
- Buy hosting and a domain, and install a clean WordPress.
- Import the file on the live site.
- Check that images and menus show correctly.
- Turn on search engine visibility under Settings, Reading.
Do the reverse when you want a local copy of a live site to work on safely. The same two screens do the job both ways.
If you want to read more on the technical side, the official WordPress documentation is a good, reliable reference.
Frequently asked questions
How do I use All in One WP Migration to move a site for free?
Install the plugin on both sites, export the old site as a file, and import it on the new one. The free version works for small sites, and a size limit applies. For bigger sites you need the Pro version.
Do I need to know coding to use it?
No. The steps are all inside the WordPress dashboard. You do not need FTP, a command line or database editing.
Will my old links still work after the import?
Yes. The plugin replaces the old URLs and paths with the new ones. It is still wise to open a few pages and check.
Can I learn how to use All in One WP Migration and backup in the same session?
Yes. A backup is just an export you keep, and a restore is just an import. Once you know one, you know the other.
Why does my import fail on a large site?
The cause is usually the server limits for upload size, memory or time. Raise those limits with your host, or use the Pro version, which removes the plugin size limit.
Is it safe to run on a live website?
Many people use it on live sites. Take a fresh backup first, and keep the old site running until you have checked the new one.